Woomer 72 Coloured Pencils Review: Why Watercolour Artists Will Love Them
Disclosure: This post may contain affiliate links. That means if you buy something we may possibly get a small commission at no extra cost to you.
Love watercolour painting, but not feeling the setup today?
I think we've all been there.
Some days you feel like watercolour painting, but you just can't be asked to dig out the brushes and fill up the water jars.
Can these coloured pencils scratch the same creative itch?
Let’s find out.

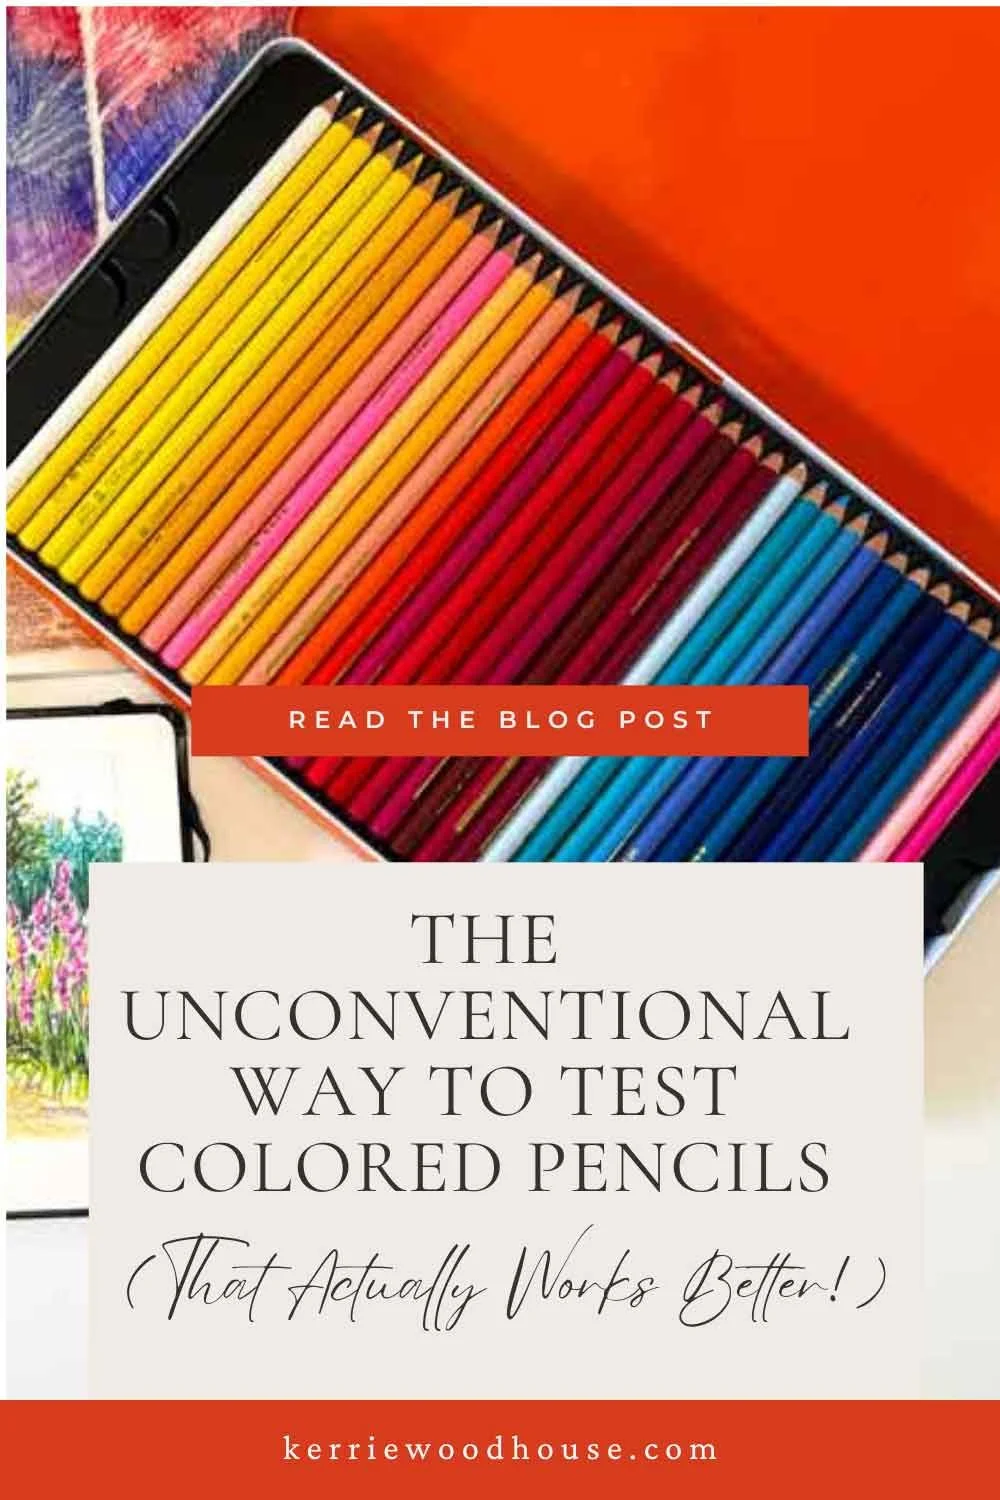
I recently received an exciting package full of art supplies - a set of 72 coloured pencils by Woomer to try out. I've never tried this brand before, so I was very excited to see what they could do.
However, I didn't approach these pencils the way most artists probably would. As a watercolour painter first and foremost, I wanted to know if these pencils could give me the same loose, expressive, joyful experience I get with my paints.
Spoiler alert: they absolutely can. Let me show you why, starting with what impressed me before I even sharpened a single pencil.
Unboxing: First Impressions Matter
There is nothing quite like receiving an exciting package full of art supplies, and I have to say, these came beautifully packaged. This is a really good thing because coloured pencils can be a little bit fragile and very frustrating if they start breaking when you're trying to sharpen them.
I was immediately encouraged by the fact that they arrived in a sturdy tin, which came beautifully bubble wrapped. This might seem like a small detail, but it tells me the company understands their product. Broken pencil cores are the bane of every coloured pencil artist's existence, so proper packaging matters.
This is a wonderfully large set of 72 saturated colours in a double layer. It’s easy to lift the top layer out and fit it in the lid using the handy little notches on the side of each tray. When you can see the whole beautiful rainbow it’s very inspiring!
There's a colour chart that came on the back of the sleeve, showing all the colours laid out in neat little rows.
Now, you might be expecting that my next step would be to recreate that neat little row of colours using the pencils themselves. But that's not what I did at all.
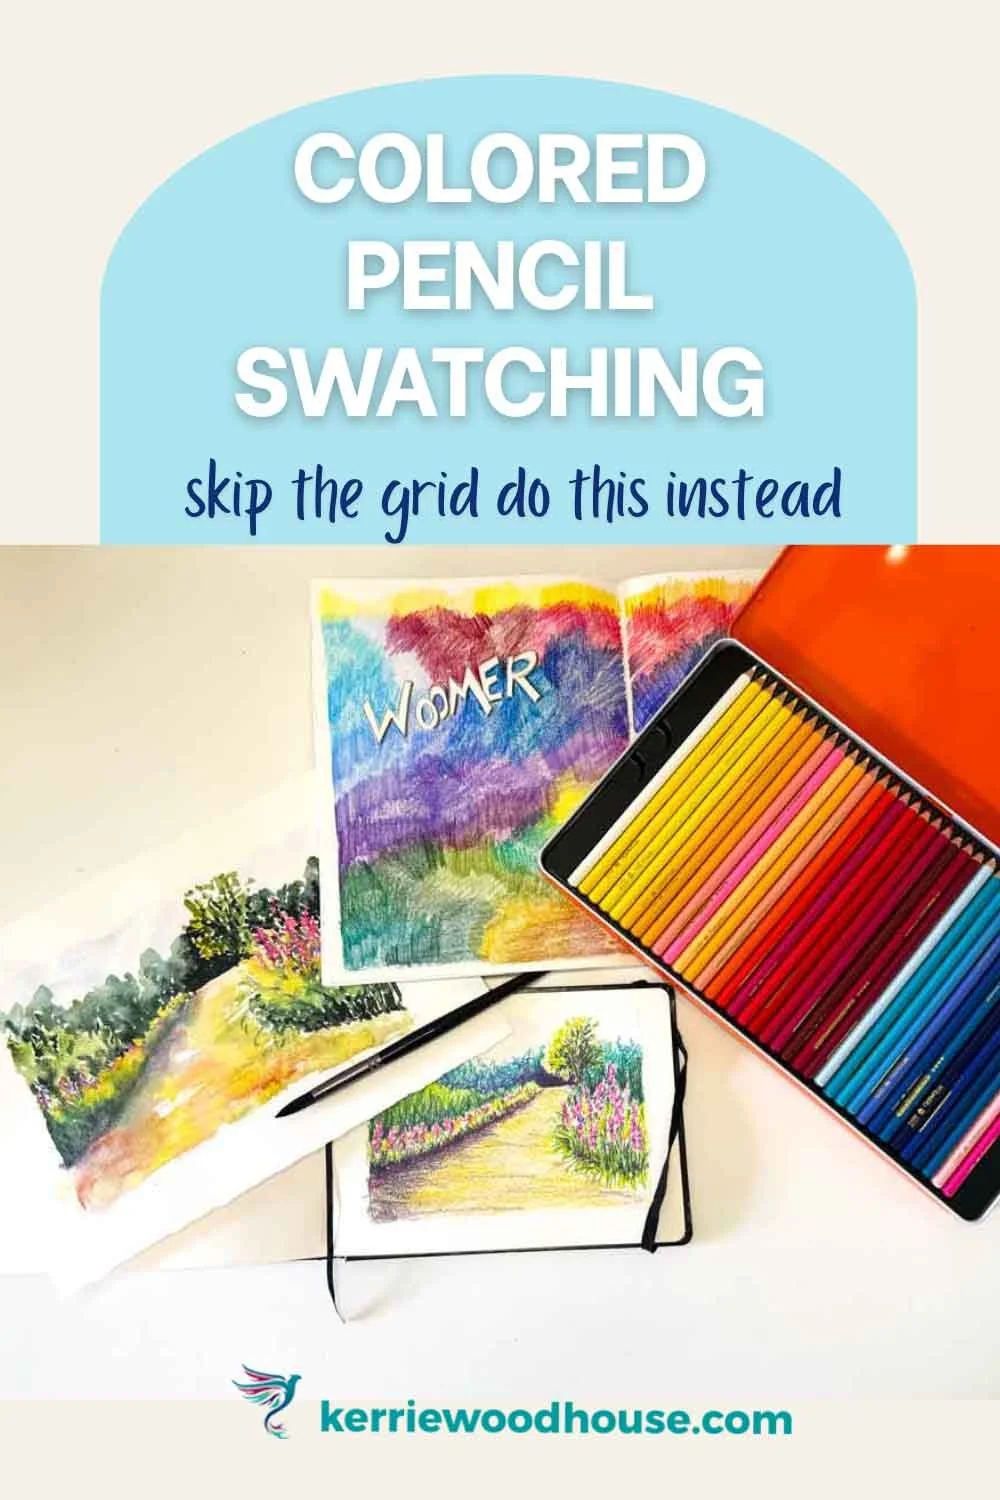
My Unconventional Approach to Colour Swatching
Here's where I chose to do something a bit different. The typical approach to colour swatching is to create a neat little table and carefully label each of the colours so that you can refer back to it when you're using the pencils in another drawing or painting. I mean, that is very useful for that particular purpose.
But I find (and since I’m a recovering accountant it might surprise you) that I don't really want to do those neat little tidy rows. I would rather see how the pencils feel in my hand. I want to see how they're going to lay down on the page. And I want to tap back into that feeling that coloured pencils used to give me as a kid.
Coloured pencils are so fun to use. It's so immediate, such an instantaneous colour rush to scratch your pencil across the page and see these ribbons of colour flow from the tip.
What My Scribbly Method Actually Tests
There's actually a little bit more method to my madness here. While I'm making these loose, energetic marks across the page, I'm learning several crucial things:
How the colour lays down: I'm using a sketchbook that's got cold pressed paper in it - the same paper that I like to use when I'm doing my watercolour painting. I also really enjoy that little bit of texture. A bit of texture, a bit of tooth in the paper is very good for coloured pencil in my opinion and for the way I like to use it, because you can see some of that texture in the paper and I really enjoy that. It's personal preference, of course. You have to decide whether that's something you enjoy or not.
Pressure variation: One of the other things I'm doing is making sure that I am varying the pressure when I'm making my scribbly marks. I'm laying down the colour, pressing quite hard to see how bold a mark I can make, and I'm pressing quite lightly to see what it's like when I lay down just a small amount of colour.
This is typically where you can tell a little bit about the quality of the pencils. If you've ever used coloured pencils and found it quite hard to make the colour show boldly, you know that they are not very good quality. And one of the drawbacks with that is that you can't get a nice variation in value. You can't get darks and lights with the one pencil because you're having to push quite hard just to get any colour down at all.
But because these Woomer coloured pencils are very saturated, very rich in colour, it's quite easy to put a nice pale layer down if you want to do that. And of course, if you put a little bit more pressure, then you'll get a lovely rich dark version of that colour.
The layering test: But the other thing that I am enjoying doing - and it's part of the method to my scribbly patches of colour here - is I'm giving myself the chance to see how the different colours layer on top of each other. It is a fun way to identify unexpected colour combinations that you just might love (or hate… both good to know).
This is also where these coloured pencils can be a little bit more similar to watercolour than you might have thought.
What I'm noticing is that I can really layer on a second layer of transparent colour over the top of the first colour patch that I put down. And that's working rather beautifully. That's a very useful thing for me to know because it means that I can use the same sort of optical mixing techniques that I like to use in watercolour.
The Watercolour Connection: Optical Mixing
When I say optical mixing, what I'm talking about is something watercolour painters do quite often. Sometimes in watercolour, you might choose to paint in layers.
Place in one layer of colour, let that dry, and then you can put another transparent glazing layer over the top. This means you'll get the effect of those colours mixing because you can see the bottom layer through the top layer.
And exactly the same thing is happening here with my coloured pencils.
This was probably my favourite discovery about the Woomer pencils. In the video you can see how the pale blue has put a lovely cast over the dark colour next to it. That's just the way it would work in watercolour. It's got that slight transparency.
Similarly, the yellowy green is dulling down the purpley pinks where those are layered, giving this sort of neutral color. And that's a very useful thing that you can use in a painting, just in the same way that you would do with a watercolour painting.
These are oil-based pencils, so you can get a very neat, clean, polished, oil painting kind of finish (using a burnishing technique). But it's really not my personal favourite way of painting. They say the way you do one thing is the way you do anything. And I'm primarily a watercolour painter, and favour a loose, expressive, free, joyful approach when I'm painting.
I want to do my coloured pencil drawing in exactly the same way.
First Use: What I Loved (and Didn't)
I have to say I started with the yellows - I’m not particularly very fond of yellow. But as I got into more of the colours that I personally enjoy a bit more - the rich pinks and reds and blues and my absolute favourite, the purples - I was enjoying them more and more.
I really like being able to see the - I wanted to say brush strokes. I mean, obviously it's not brush strokes because we're not using a brush, but the actual pencil marks. I prefer to see that in coloured pencils.
Like anything with all these art supplies, there are so many different ways of using them. You can use coloured pencils in such a careful way and lay them down so that it actually ends up looking more like paint. But it's not my typical way of working with coloured pencils.
These pencils are lovely and creamy and they're going down very beautifully. The rich saturation means I can work light to dark with confidence, building up the colour in patient layers - just like watercolour.
Here's something worth noting: these pencils are much more affordable than some of the other brands out there, but my first impressions are that they are still very richly pigmented and creamy. That's a pretty impressive combination - getting professional-feeling quality at a more accessible price point.
What This Means for Watercolour Artists
This is where it all comes together. When I'm messing around in my sketchbook, just enjoying playing with colour, doing little doodles and drawings, I'm actually still using all the same skills and techniques that I use for watercolour painting. The two kind of really work so well together.
And this is one of the things I love to do. I find the sketchbook to be such a fun thing to work in. It's a really fun, supportive part of my whole painting process. In fact, I find working with dry media in a sketchbook so supportive to my watercolour painting that I include some sort of sketchbook project every single month in my Happy Painters Hub.
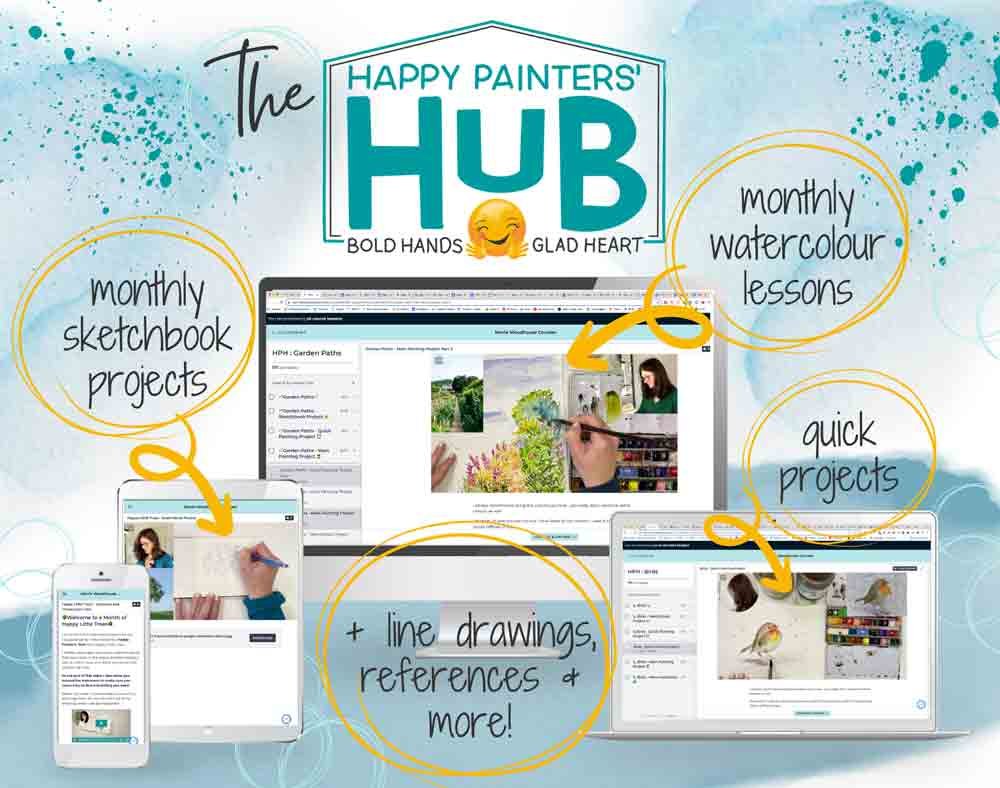
We do some sort of little project in our sketchbooks, usually using some sort of mixed media - sometimes it's coloured pencils, all sorts of different things. But whatever we do, it's usually very, very helpful when it comes time to do the actual watercolour painting for the month.
But there's another practical advantage to working in coloured pencil that makes them perfect for certain situations. If you're doing something where you're likely to be a bit more often interrupted, it's much easier to be doing a coloured pencil project rather than a watercolour painting where you're worried about having to be aware of how wet the washes are.
When you're working in coloured pencil, you can stop and start. So if you're in the middle of watching TV or you're looking after children who are constantly interrupting you or you're waiting at the doctor's office and could be interrupted at a moment's notice, this is the perfect sort of thing that calms your nerves and takes you away from the world but not in such a way that you can't be disturbed at a moment's notice.
So much to love about this way of working.

My Finished Swatch Page: What I Learned
Looking at my finished page of scribbly colour patches, here's what stood out:
Gorgeous, bright, bold color. I love the sort of energy that I can see in the page, and that's the kind of thing I want to put into all of my paintings.
Little favourites emerging. As you go through, you find little favourites. Light cinnamon, I think, is one I'm going to love. Some of these dark, bold colours that I will use to stand in place of black are others that I know will definitely be favourites in my palette.
The layering effect. This is what really sold me. The way colours can glaze over each other, dulling or brightening, creating neutrals or adding atmosphere - it's exactly what I do in watercolour.
Final Verdict: First Impressions
These Woomer 72 colored pencils passed my unconventional test with flying colours (pun intended). They offer the rich saturation, lovely layering capabilities, and creamy application that watercolour artists need to translate their skills to a dry medium.
Are they perfect? I'm still getting to know them - this is very much a first impressions review rather than a comprehensive long-term test. But what I've discovered so far is that they scratch the same creative itch as watercolour painting, without the setup.
And on those days when you want to create but can't face the water jars and brushes, that's exactly what you need.
If you're a watercolour artist looking for a way to keep your skills sharp, play with colour, and enjoy creating without the full painting setup, these pencils are definitely worth exploring.
Note: I was sent these pencils to review, and there are discount codes available - check the video description for current offers including a 50% off code for the first 100 redemptions at Amazon. (valid in November 2025)
Are you on your own painting journey?
One of these might be useful…


Keep on reading…