Watercolor Pumpkin Tutorial
Of all the possible painting subjects fruit and vegetables rank very high for me. Would you like to paint a watercolor pumpkin with me?
Simple and colourful, pumpkins are also a most forgiving painting subject. A perfect opportunity for a quick tutorial I think!

Since they are natural rather than machine made, pumpkins have lumps and bumps and imperfections. They are round but not necessarily perfectly symmetrical. So you can just relax and paint with abandon knowing that if you don’t get the drawing perfectly correct it is not going to create a big problem.
I chose to paint this big tub of pumpkins. Watch the video below to see the whole process.
By the way, if you can’t get enough pumpkin painting, I understand… and I have a whole course on Pumpkins in Watercolour you might enjoy - click here to investigate 👈🎃
Tips for following along with the Watercolor Pumpkin Tutorial
1.Simplify the scene
Don’t be afraid to simplify a scene in your painting. In fact, I recommend it. The point is to create your own painting, not to replicate someone’s photograph.
I used this photograph as a starting point.

In this case I chose to omit everything in the background and go for white space.
There are other options….
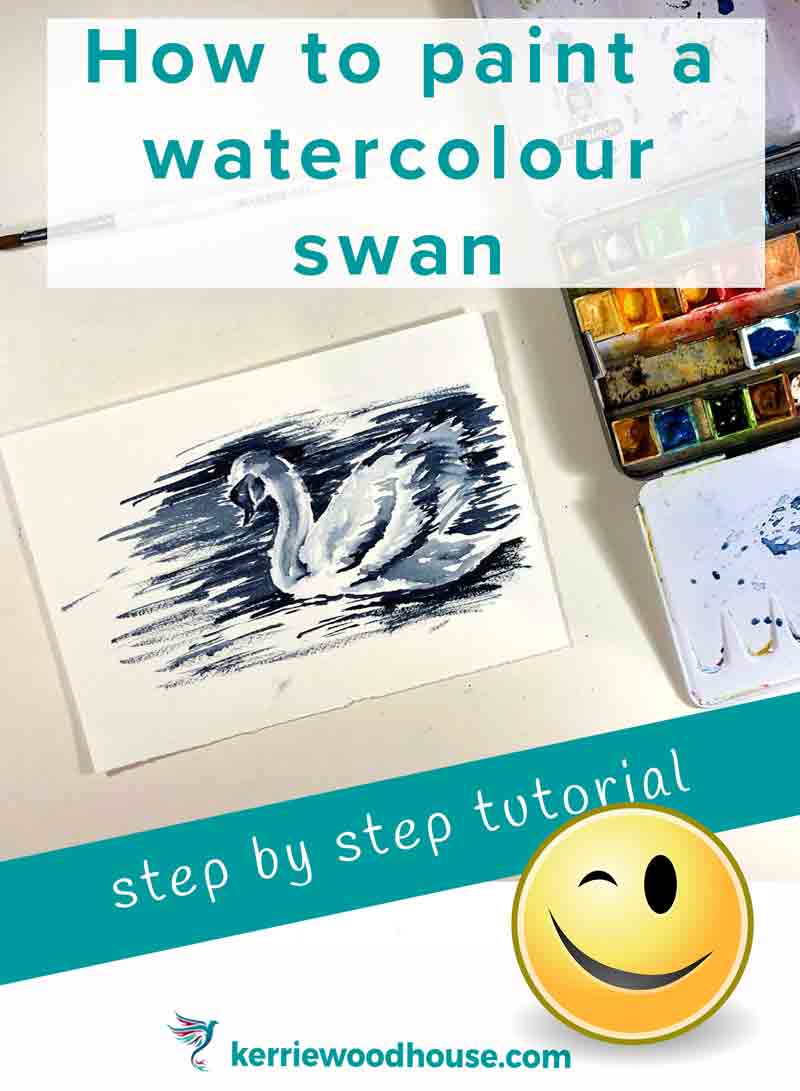
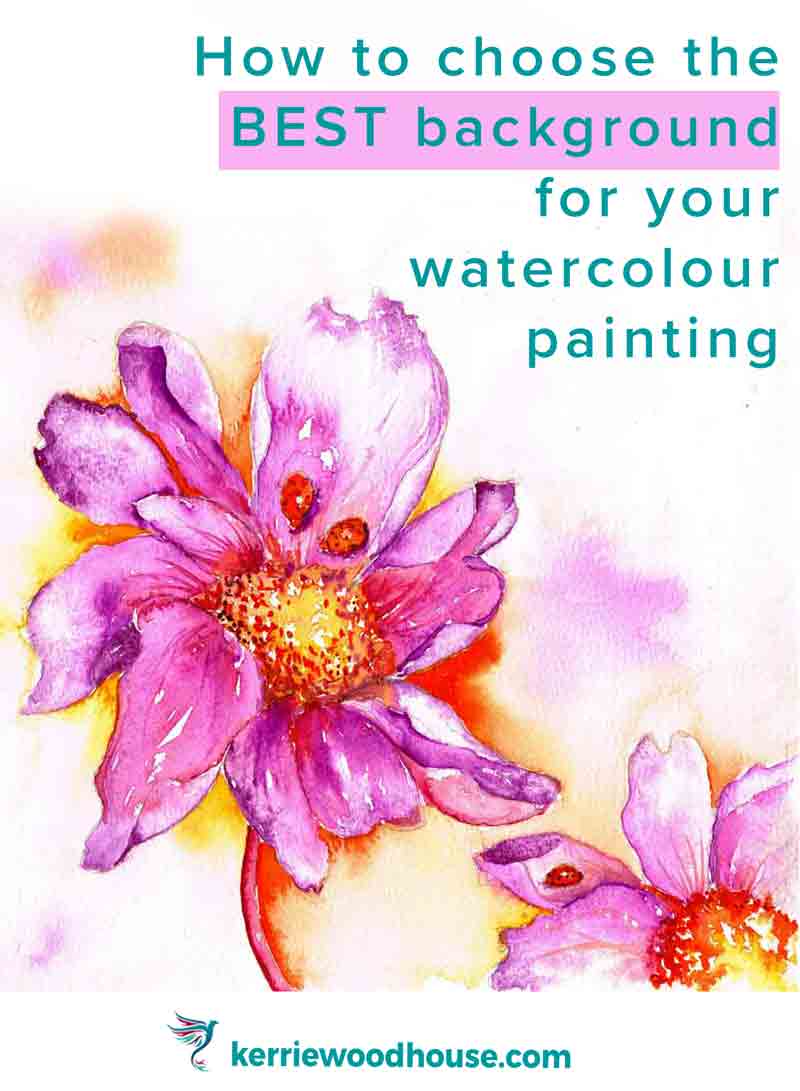
This post will lay out many more possible choices for watercolour backgrounds
2.Start with a light sketch
I like to start with a loose light pencil sketch of the main shapes. Don’t forget to use good watercolour paper if you want to enjoy the properties of watercolour paint in its full glory.
This post will help you choose the right watercolour paper for your project
I also have a whole class on watercolour supplies - it’s free to all my subscribers!
Sign up here to get not only this comprehensive class but also my sporadic but helpful emails with painting tips, inspiration and first dibs on special offers and new classes..

The Beginner’s Guide to Watercolour Supplies
3. Consider where your highlights will be
In this painting I chose to add a little wax resist to the highlight areas. I am using a white wax crayon, but you can use a piece of white candle wax. It is a good idea to practice restraint here - once you add wax you will never get it off and will not be able to put colour in the area at all. I put just a dash on the edge of the stalks and the top of the pumpkin where the light was catching them. (Of course, you could leave this part out. )
4. Start painting big shapes (the pumpkins) with watercolor
I like to begin by dotting a little clean water here and there on an area before I begin painting. Place the colour into the shapes (I’m starting with the pumpkins, one at a time) and let it move where it meets some of the clean water you dropped in earlier. Drop in darker colours in the areas of the pumpkin that are in shadow and let the paint blend naturally to give a lovely smooth transition.
5. Paint details - the pumpkin stalks
Add the stalks once the relevant pumpkin is pretty dry. If you touch the orange part with the stalk colour while the orange is still wet you could get a whoosh of that colour into your pumpkin. If it happens - go with it, and enjoy the effect! If you want to avoid it try to let the pumpkin be reasonably dry. It is rather nice if the edge of the stalk softens slightly into the top of the orange pumpkin.
It’s a matter of feeling your way and learning how quickly your paint dries. If it is totally dry you will have a hard line, it if is totally wet you will find the colours blend together and you lose the separation of stalk and pumpkin.
6. Paint the pumpkin basket
I used a deep dark colour called Indian Red in the darkest shadows of the pumpkins in the basket. Repeating this colour in the basket/tub itself makes for a nice harmony. I used the same approach as for the pumpkins, beginning with a little clean water.
I added the rim of the basket in the dark green that I used on the stalks, remembering to show that lovely highlight in some places at the top of the rim.

Want to paint more pumpkins?
How about a fun sketchbook project, 2 realtime step by step video lessons, complete with drawings, references and more?
7. When is the painting finished?
Figuring out when to stop painting because the painting is a big question for another post. (This post here, in fact, so click this if you would like 7 tips to help figure out if your painting is finished.) But for today, let’s try this tip.
If you have a framing mat around place it over your painting. This changes the look of the painting quite a lot somehow. It can make it easier for you to decide whether it is complete or not.
No framing mat handy? No problem, just use a few bits of paper or card to place around the image cropping it the way a mat would.
Stand back and have a look. If it feels done, then you are finished… trust your instincts.
Now, wasn’t that fun!
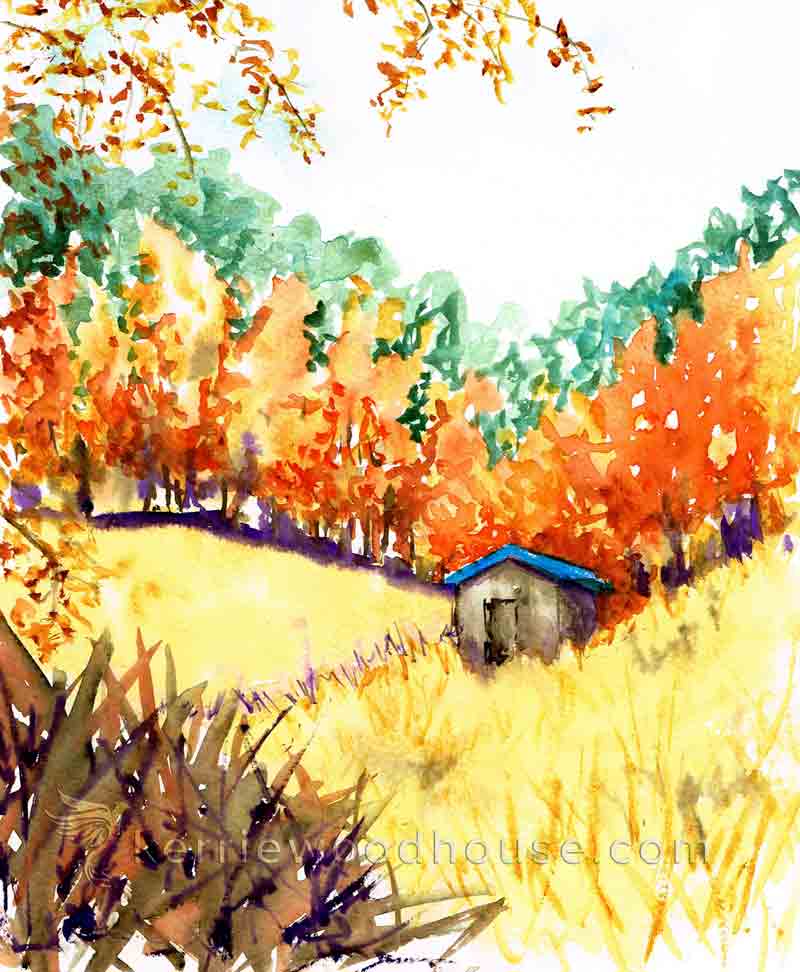
Fancy painting more cosy autumnal watercolour?
You might love this!👇
What’s the easiest way to explore brave colour choices?
Start with autumn, the season built for bold.
Are you on your own painting journey?
One of these might be useful…


Keep on reading…