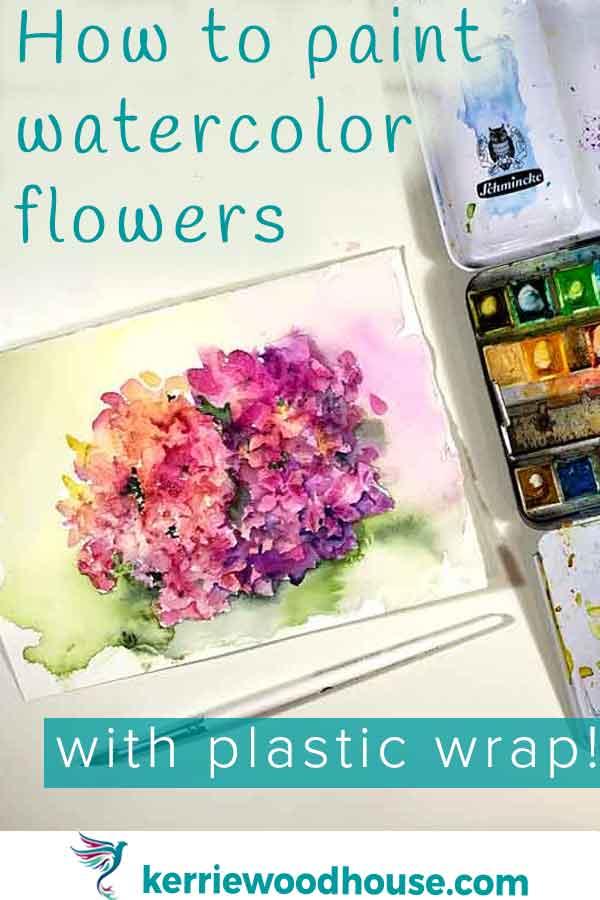
Fun watercolor technique - use plastic wrap to paint flowers (+ make negative painting easier)
If you are looking for a fun watercolor technique to jazz up your flower painting, this one uses a supply you probably already have in your kitchen - plastic wrap!
Plastic wrap (or cling film as we call it, please forgive me for using these terms interchangeably) can be used in the base layer of your watercolor painting. Once it is dry you can build on the organic random shapes it creates to do some negative painting - another very useful watercolor technique.
I find that flowers are a great place to try out this cling film technique because sometimes, if you are lucky, the shapes that the plastic wrap creates already looks like little petals. This is enormously helpful because negative painting can feel very tricky when you are a beginner.
I’ll get back to that in a moment (and there’s a video to come), but first let’s see how to use the fun watercolor technique of plastic wrap, step by step.
How to use the plastic wrap watercolor technique
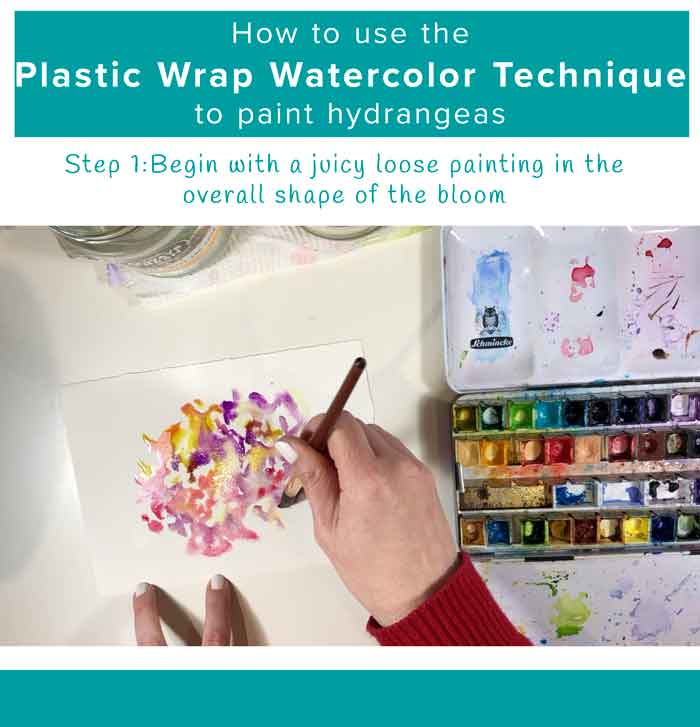
1.Begin with a juicy loose painting in the overall shape of the bloom
You do need lots of juicy wet colour to make this technique work. Be bold at this stage to avoid disappointment later. You can use just one colour if you like, but I like lots of colour!
2. Add scrunched plastic wrap cling film directly to the wet paint
Before the paint is dry pull off a piece of cling film and crumple it up. Then place it directly on the surface of the wet paint making sure that the plastic and paper are in contact in several places.
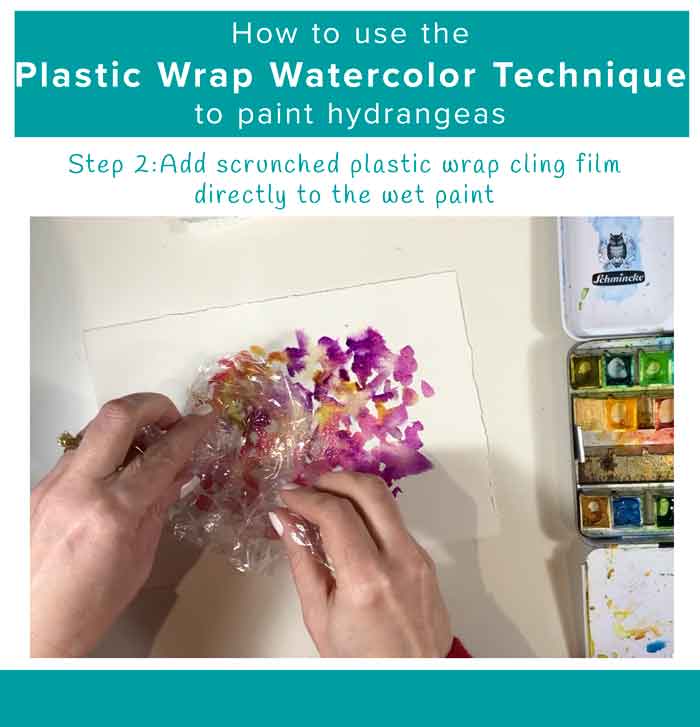
I am painting a cluster of two hydrangea heads so I used two separate pieces of plastic to place over my wet flower shapes.
You can press the plastic down in different places and manipulate the shapes a little, but the joy of this technique is that you never really know what you are going to get. You will probably have to try it a few times before you figure out what sort of manipulating you want to do.
Once you see the sort of effects you can get you can start to imagine how stretching the plastic into longer shapes might change your painting or make bigger or smaller individual shapes by varying the amount of scrunching you do.
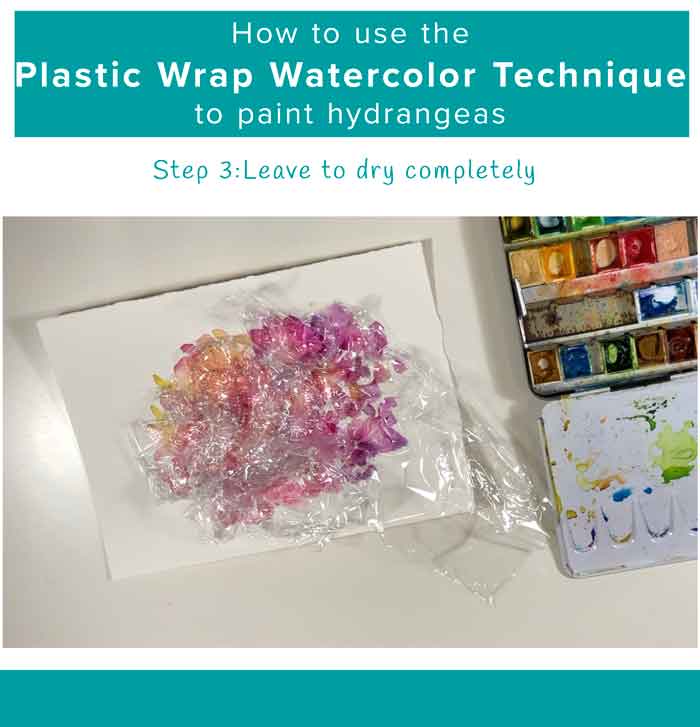
3. Leave to dry completely
Now this is the hard part. Walk away, and don’t peek. To achieve an effect you need to let the paint dry completely under the cling film. Every time you touch or dislodge the plastic you are reducing the impact of this fun watercolor technique.
I recommend leaving it to dry overnight to be safe.
4.Remove the plastic and spend time with your first layer
This is the fun part!
Lift the plastic wrap from the perfectly dry painting and give yourself plenty of time to just look at the result. This part is a bit like that game we play with kids when you see what shapes you can find in the clouds. Eventually your eyes will find the edges of petals or leaves, or maybe something else entirely.
How exciting!

5. Consider using references
If you know what kind of flower you are trying to paint - like hydrangeas in my case, or if you now see a particular flower in this first layer you can see about finding some images of the subject. Since I am painting hydrangeas I did a quick google/pinterest search and spent time looking at lots and lots of hydrangea photos.
Don’t undervalue this step! It is time well spent because it is building your visual vocabulary. You are learning to notice the import details about your subject. Find the edges of the petals, carefully observing how the blooms overlap and so on.
These things are terribly helpful when you start painting but you will also find they are a natural gratitude practice. A bit of mindful observation like this might just leave you feeling like the world is a slightly brighter, richer more interesting place. That way greater happiness lies. But I digress…
6. Use negative painting to build on your first layer
Now that you can start to see a few more individual petals on your flower you can get out the paint and start painting them in. Once of the best ways to do this is negative painting.

What is the negative painting technique?
Negative painting describes the technique of painting around your subject. If you are painting a petal using negative painting you would not paint the petal at all, you would paint the area around the petal.
By contrast, positive painting is painting the petal itself.
I think that negative painting is most effective when you don't try to paint around the entire edge. For example, if we are painting a small petal from the tiny flower in the composite hydrangea, it is often enough to just indicate one lower edge of the petal. Or upper edge, for that matter.
All that is important is to find a little place in your painting that needs emphasis and do that. One edge at a time. No stress. And no need to do every single edge in the painting.
How to use the softening technique to aid your negative painting
There is another important technique we must raise here I think - softening off.

When you identify the petal that you want to paint negatively, paint a line of color against the edge that you want to bring out. If you leave it like that, if will just look like a whole lot of cartoon outline shapes all over your painting. To avoid that, rinse your brush as soon as you have painted your edge and then dab it on a rag or kitchen towel so that it is just damp not dripping.
Then take that clean damp brush and run it against the line you painted. Do this only on the side of the line that is away from your petal, not on your petal. This will make the paint naturally fill the damp mark you made and paint the shaded area around your petal, blending it naturally into the rest of the painting.
You can do as many or as few of these petals as you choose - it’s your painting! You can also use the same technique to paint flower centres or the spaces between the individual blooms.
Want to see my whole painting from start to finish?
Are you on your own painting journey?
One of these might be useful…


Keep on reading…