What is Brusho?
Brusho is a very exciting form of watercolour. It is highly pigmented dry powder that is very versatile.
If you are brand new to Brusho then this post will introduce you to four basic Brusho techniques to use in art journals, card marking and watercolour painting.
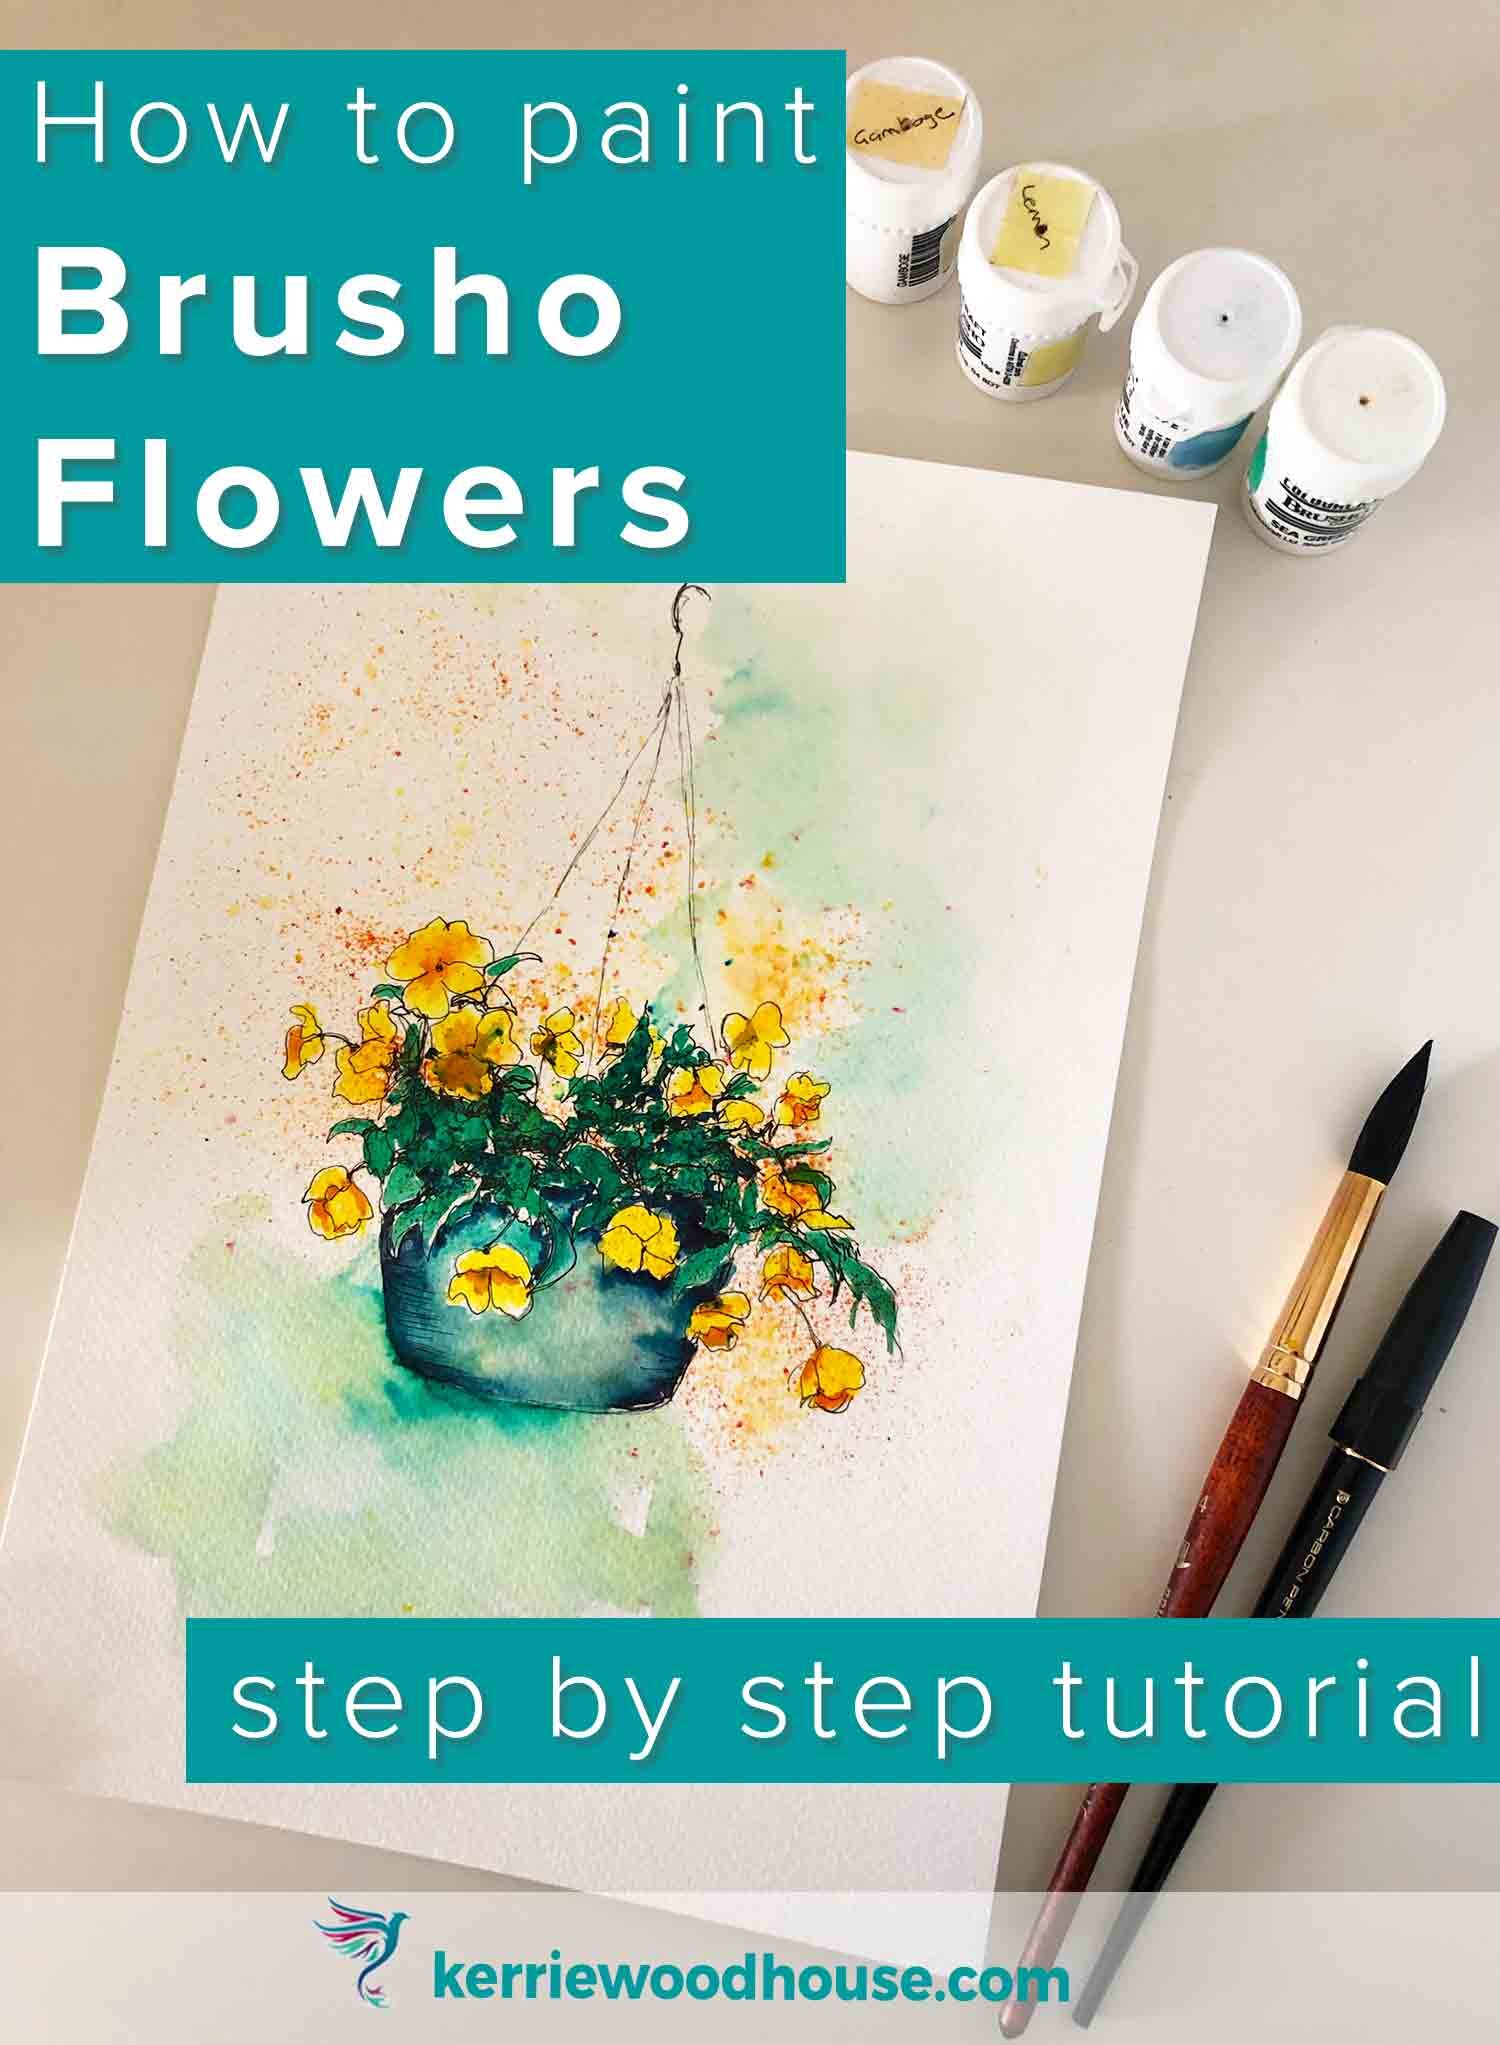
How to paint Flowers with Brusho
This month I decided to paint hanging baskets of flowers using Brusho watercolour. I am also using a pen to give myself a simple line drawing to start off with.
Want to follow along?
This video shows you my whole process from inspiration to finished painting. But if you prefer to read, step by step instructions are below the video.
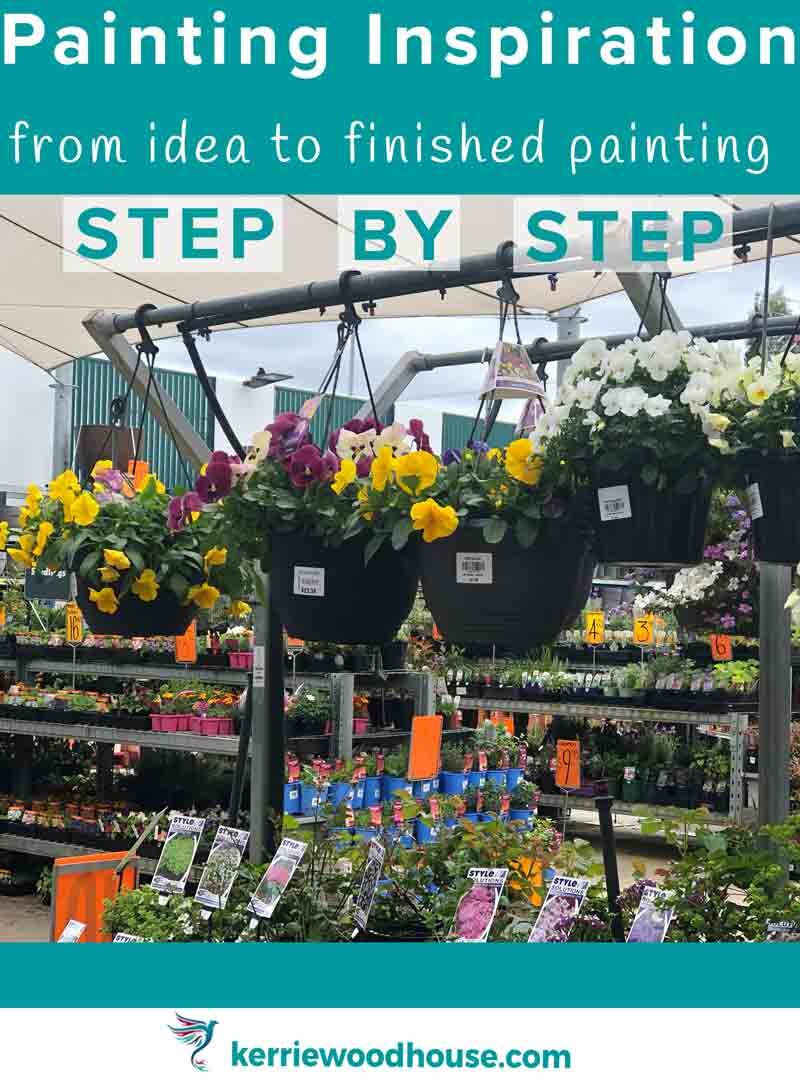
Step 1 : Inspiration to first sketch
One of the first hurdles a painter has to solve is what to paint. Inspiration is everywhere. My inspiration for this series came from the garden centre. I saw this array of joyous hanging baskets took a couple of photos and raced home to my sketchbook.
I thought I would use a combination of pen drawing and watercolour for this subject. It is a technique described as ink and wash. I rather love it because the two media really support each other and bring out the best in one another. Neither has to carry the painting on its own. Very reassuring for the painter. I talk about ink and wash more in this post.
So first I needed to have a bit of play in my sketchbook to see if I could make a simple line drawing of one of these hanging baskets. I chose the lovely yellow pansies.
In my sketch I am not worrying about getting every single bloom and leaf exactly right. I am looking for the sort of shapes that the pansies make and adding a variety of them to my drawing. Similarly the leaves do not have to be reproduced in precise detail. It is important to notice that the leaves are not all cartoon leaf shaped. Some are twisted, some are in profile, some are flat to the viewer. They overlap one another. To get the idea of these leaves into my sketch I am looking at the variety in the shapes that the leaves actually make rather than the picture I might have in my head when I think ‘leaf’.

I am also not worried about capturing every tiny detail. The main focus for me is those gorgeous bright blooms. Most of the leaves will be captured in spirit with a few leaf shapes and quite a bit of loose scribbly marks around those few main shapes.
Step 2: Transfer the sketch to some watercolour paper
Since I am planning to paint this hanging basket with Brusho watercolour, it is important to make sure that I use watercolour paper. I recommend 300gsm cold press watercolour paper.
By the way, I have a free watercolour supplies class, if you are interested. That class doesn’t include Brusho but it does tell you everything a beginner needs to know about the supplies that will get your watercolour journey started.

The Beginner’s Guide to Watercolour Supplies
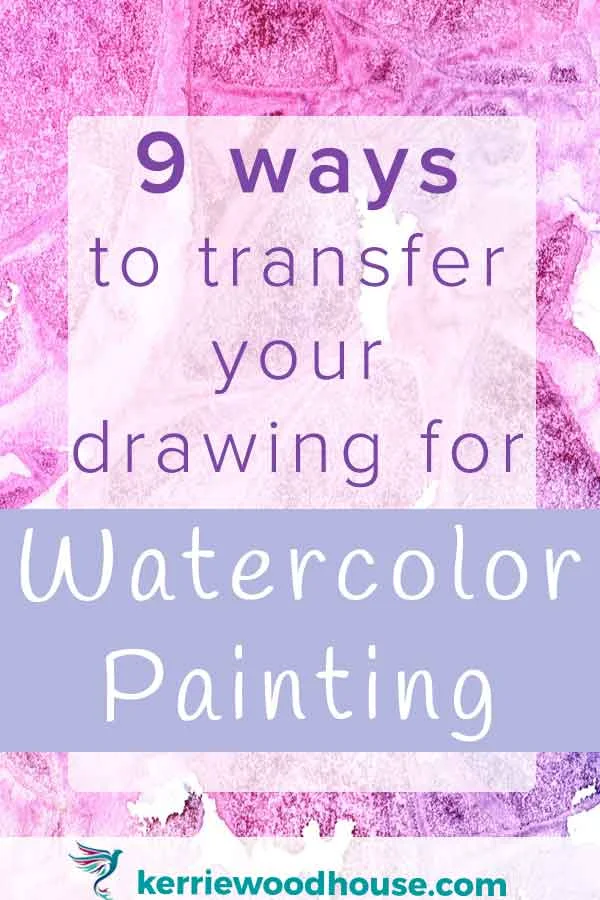
I redraw my sketch onto the paper, first in pencil (or erasable coloured pencil). Of course you could trace your drawing from your sketchbook if you made a drawing that you really like. This post will help you out with 9 ways to transfer a drawing onto watercolour paper.
Once I have the rough placement of the drawing in pencil, I go over the lines with a waterproof black pen. Once it is dry, all the pencil can be erased. Or not...you choose!

Adding value to your pen drawing of flowers
When I say ‘value’ I am referring to the light and dark areas in your drawing. Value is really important - this post will tell you more about it.
Our eyes like contrast - we find a strong pattern of light and dark shapes interesting. If you look at the photo of the hanging basket with your eyes partially closed you will see the little dark patches in and amongst the leaves of the basket. These are the shadows created where the leaves overlap one another. I want to make sure that those interesting dark shapes are included in my drawing. I can do that quite easily with little scribbly marks made with my pen. As soon as those are popped in the pansies appear to pop out of the drawing. This will mean I have less work to do with the paint.

Step 3: Add colour with Brusho watercolour
Now for the fun colour!
I am using Brusho but of course you could use another form of watercolour to add colour to your pen drawing.
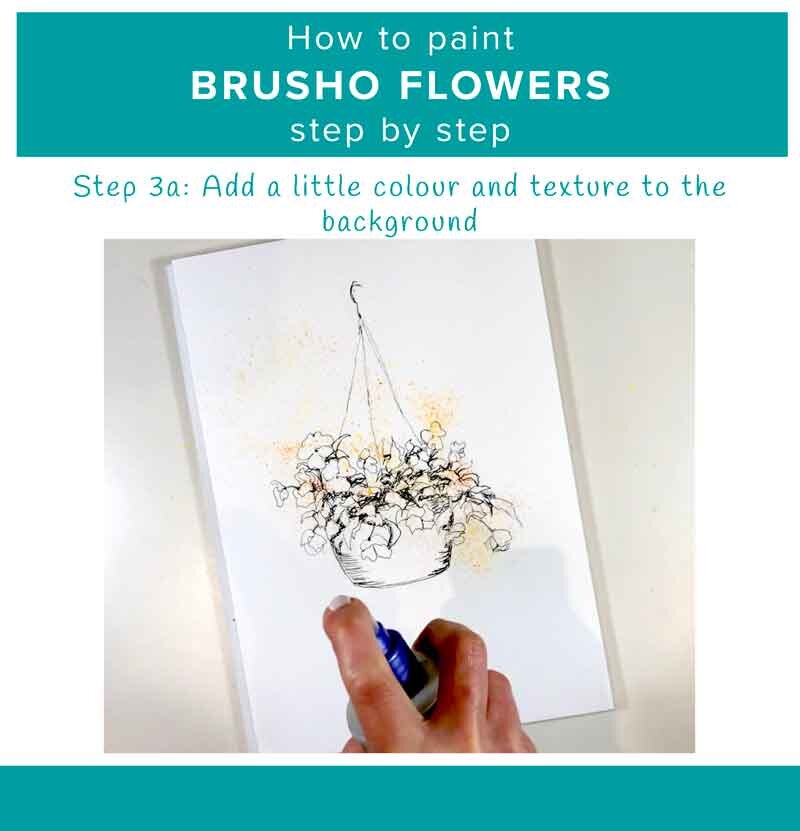
3a) add A little colour and texture in the background
I start with a sprinkle of Gamboge Brusho. This is a mixture of yellow and orange. I sprinkle just a little across the page. Using a spray bottle I spritz a bit of water onto the dry powder and watch it spring to life. I love the speckles so I aim for restraint with the spray. If you add a lot of water then the speckles will disappear and you will have a loose watercolour wash.
There is no right or wrong way.
3b) Painting the pansies
I love that the colour is all over the place,on the pansies as well as everything else. But it is those pansies that are the focus for me. I want them to be a really vibrant pop of yellow.
I sprinkle a little Lemon Brusho onto a palette and add a tiny drop of water to make bright yellow paint. I paint in all the pansy blooms with this vibrant lemon.

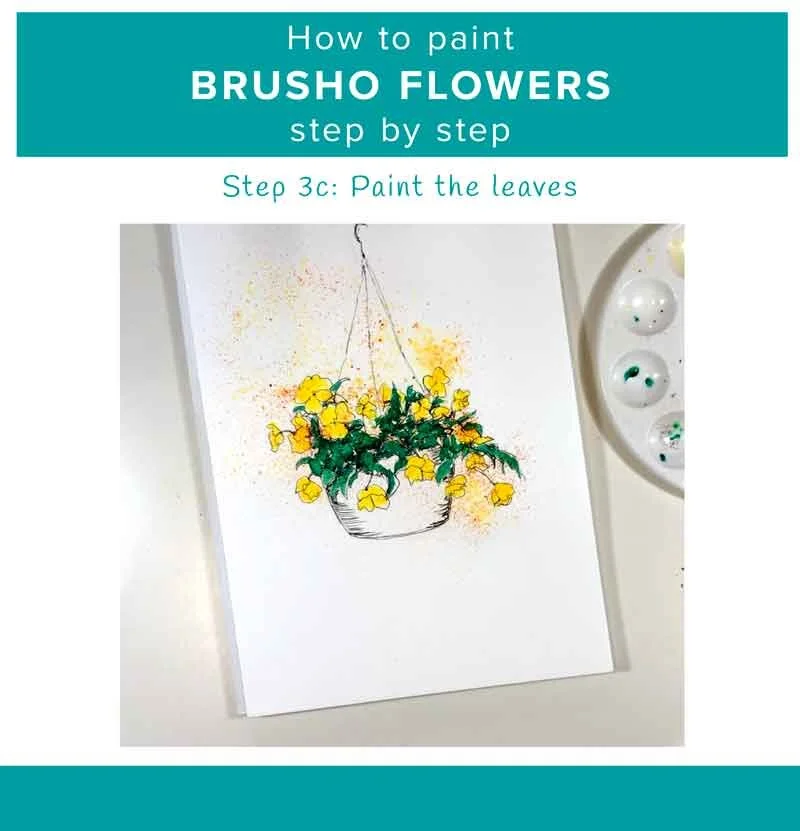
3c) Painting the leaves
Now before going on to the leaves I want to make sure that all the yellow pansies have dried. I am using a combination of painting and sprinkling the green powder for the leaves. If I were to sprinkle in the green when a pansy was still damp, any green Brusho that lands in there will activate and turn the bloom green.
Just as I did with the Lemon, I mix up some Sea Green Brusho in my palette and paint in the leaves. Before it dries I sprinkle in some more of the powder to add some texture to the deep green leaves.
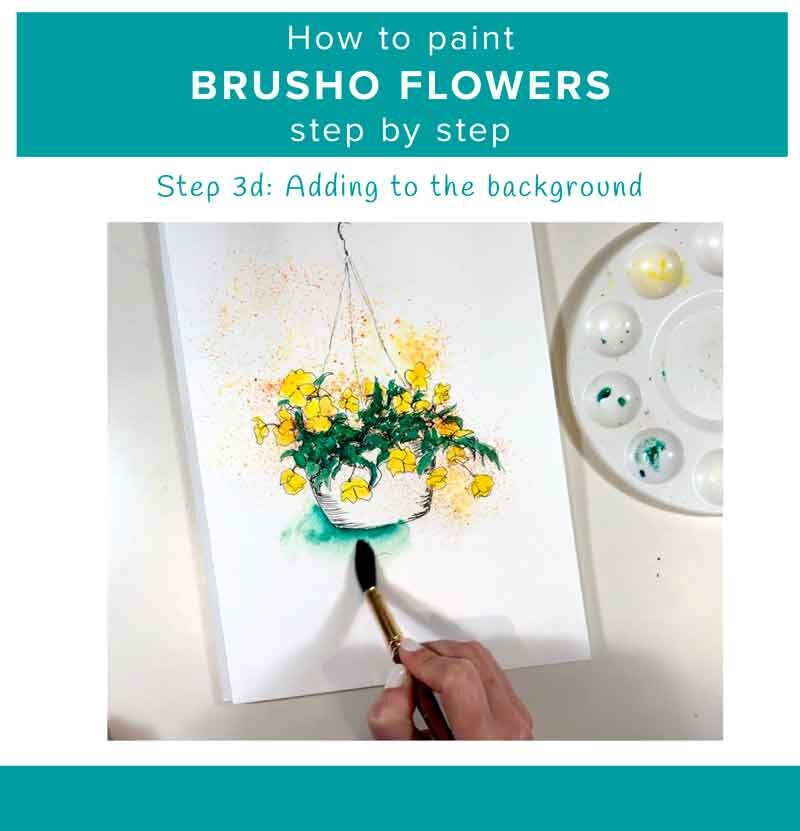
3d) Adding to the background
I decided to add a little more to the background by using up the rest of the Sea Green I mixed in my palette. I paint in a little green around the basket (negatively painting the edge of the basket). Then I rinse off the brush and with a now clean, damp brush soften the edge of the mark I made and spreading the colour out into the background.
For balance, I add a little more of this green diagonally opposite in the top right corner, again spreading and softening it with a clean damp brush.
3e) Painting the basket
I chose Prussian Blue Brusho for the basket because it picks up nicely on some of the blue speckles that you get from the Sea Green Brusho. This gives the painting a nice harmony.
To give the basket a little roundness, I paint the edges of the basket with strong Prussian Blue which I mixed up in my palette. Using the same softening technique as before I use a clean damp brush to pull the colour towards the middle but letting the centre of the basket stay lighter. This conveys the illusion of roundness in the basket as the middle which is closest to the viewer appears to be catching more light than the edges of the basket which recede away from the viewer.
I also use some of the Prussian Blue to dot in here and there on the shadow areas in the leaves. Using a colour multiple times in the painting gives a nice unity. It is also reinforcing that all important value pattern established in the pen drawing.

3f) Shading the pansies
The pansies are bright but look a little flat. This is because they are painted with just one colour. I mix up a little of the Gamboge which is a darker, more orangey yellow and add a few of the shadows to the petals where they overlap. This is another chance to use that softening off technique to let the Gamboge blend naturally into the Lemon. Just like other watercolour forms, the Brusho is transparent and can be layered effectively.

Before doing this step it would have been wise for me to dust off any loose Sea Green powder. As you can see in the video and the finished painting, one of the pansies must have had a speck of Green which activated with the Gamboge, turning the pansy flower a little green.
Ah well… such are the risks of Brusho!
Happy painting!

Are you on your own painting journey?
One of these might be useful…
Keep on reading…